Washing clothes might seem like a simple task, but if you’ve just got yourself a brand-new Whirlpool washer, you might find yourself scratching your head. Don’t fret! From deciphering those myriad buttons to understanding the different washing cycles, we’ll break down how to use a Whirlpool washer step-by-step in this comprehensive guide.
What You’ll Need
Before diving into the operations, let’s discuss what you’ll need:
- Laundry Detergent: Liquid or powder, suited for your laundry type.
- Fabric Softener: Optional, but it makes a difference.
- Laundry: Sorted by color and fabric type.
Why Sorting Matters
- Color: To prevent colors from running.
- Fabric: Delicate fabrics need gentler cycles.
Understanding the Control Panel

Before you get started, it’s essential to understand your Whirlpool washer’s control panel. Here’s a quick breakdown:
Buttons and Their Functions
| Button | Function |
|---|---|
| Power | Turns the washer on/off |
| Start/Pause | Initiates or pauses the washing cycle |
| Load Size | Specifies the amount of water needed |
| Cycle Selector | Lets you choose the type of wash, rinse, and spin |
Important Symbols
- Wash: Usually a water wave icon.
- Rinse: Water droplet icon.
- Spin: A circular arrow.
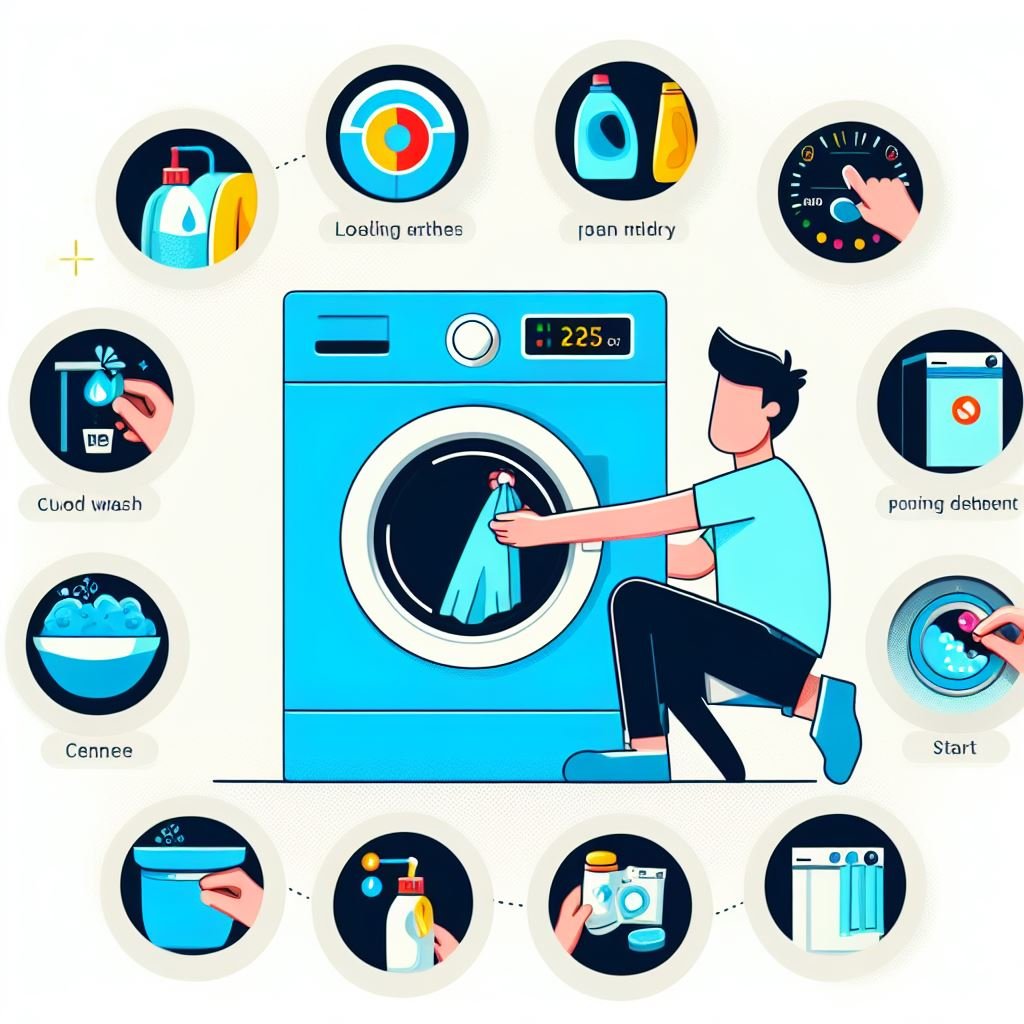
Steps to Operate Your Whirlpool Washer

Now that we’re all set, let’s get into the meat of the topic: how to use your Whirlpool washer effectively.
Step 1: Preparing Your Laundry
- Sort your laundry by color and fabric.
- Empty pockets and close zippers.
- Pre-treat stains if necessary.
Expert Tip: Use a stain remover to pre-treat stubborn stains for better results.
Step 2: Loading the Washer
- Open the washer’s lid or door.
- Add your sorted laundry, ensuring not to overfill.
Common Questions
- How much can I load?
- Refer to the user manual for specific load sizes.
- Can I mix different colors?
- Stick to similar colors to avoid discoloration.
Step 3: Adding Detergents and Softeners
Follow these guidelines for adding detergents and optional softeners.
- Use the marked compartment for each.
- Do not exceed the MAX line in the compartments.
Note: Whirlpool washers are generally HE (High Efficiency), so use HE-specific detergents.
Step 4: Setting Up the Cycle
- Turn on the washer by pressing the “Power” button.
- Select your desired washing cycle.
- Choose additional settings like load size and temperature.
Did You Know?: Whirlpool washers often come with pre-set cycles for different fabric types, making your life easier.
Step 5: Starting the Wash
- Double-check your settings.
- Close the lid or door.
- Press the “Start” button.
Your Whirlpool washer will now go through the washing, rinsing, and spinning cycles automatically.
Maintenance Tips
Regular maintenance is critical to keep your Whirlpool washer running efficiently. Here are some tips:
- Clean the Drum: Once a month, run an empty cycle with a washer cleaner.
- Check Hoses: Look for cracks or leaks every few months.
For more detailed information on maintenance, you can visit the official Whirlpool website.
Troubleshooting Common Issues

| Problem | Possible Solution |
|---|---|
| Washer won’t start | Ensure it’s plugged in and the door is closed |
| Strange noise during wash | Check for foreign objects in the drum |
| Clothes are not clean | Make sure you’re not overloading |
Wrapping Up
Mastering how to use a Whirlpool washer is not rocket science. Once you get the hang of the various features and cycles, you’ll find the process incredibly straightforward. Remember to sort your laundry, choose the right cycle, and keep up with regular maintenance for the best washing experience.
